...
- Create a project (or use an existing project) at https://console.developers.google.comIn API section enable the Google Drive API. (If at any point you do not have permission to add or edit make sure you are on the right project)
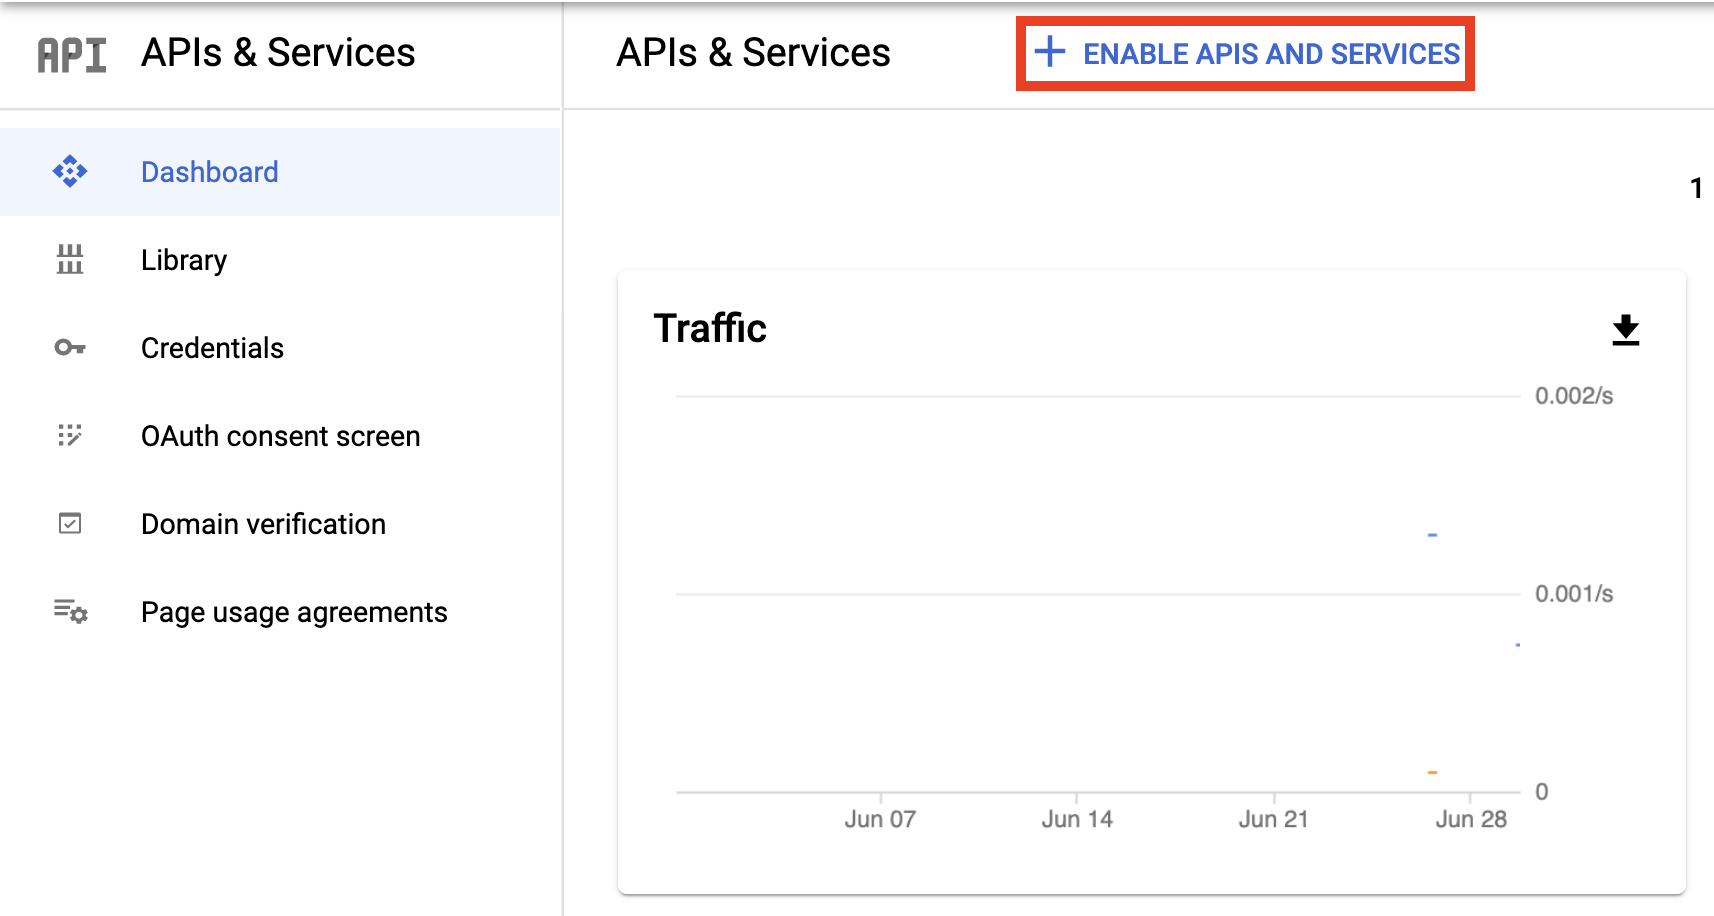
- In Dashboard section go to Enable APIS AND SERVICES and enable Google Drive API and Google Sheets API
- Add the Google Drive API to the created project.
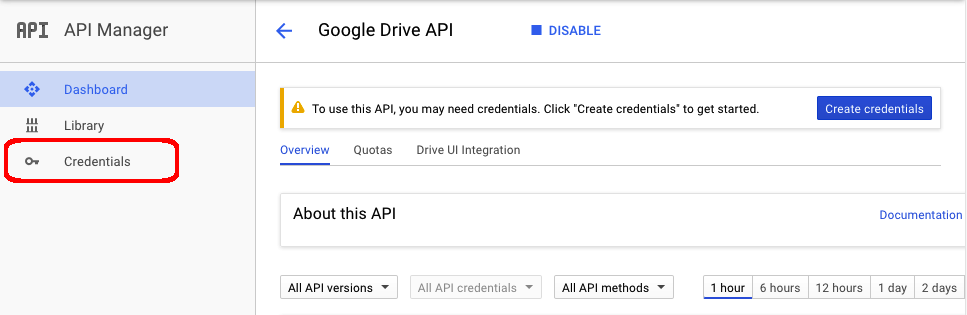
- Go to the credentials section displayed on the left sidebar
- In the Credentials section create a new OAuth clientID then:
- Choose the Web application type
- If prompted, follow the instructions to verify your domain and configure your consent screen
In the Authorized redirect URIs section enter the URI in the following format and press create
Code Block https://www.example.com/flexbi/source_applications/auth/google_spreadsheets/callback
Where "flexbi" is your prefix that you have set up in start.sh file.
Place the Client ID and Client secret inside your flex.bi installations config/eazybi.toml file like so:
Code Block [source_application.google_spreadsheets] client_id = "..." client_secret = "..."Add "google_spreadsheets" to your config/eazybi.toml file like so:
Code Block application_types = [ "jira", "rest_api", "sql", "hansaworld", "google_spreadsheets" ]
- Restart flex.bi server
- If you are receiving a "This app isn't verified" error, when creating a Google Spreadsheet, consider joining your user to the "Risky access by unreviewed apps group" or submit an app approval form to Google